| Back to the main page |
|
Previous Item || Table of Contents|| Next Item Create Maillist To create a new maillist, from the My Surveys page click on the Send E-mail Invitation link. You will have to fill in the new maillist form, which consists of the following parts: Prepare Invitation Message Type in the name which the respondent will see as the "From" field in the invitation message he receives. It may be the name of the survey's author, company representative, or the company name itself.  Type in the e-mail address for the "From" field of the invitation message.  Type in the e-mail address for the "Reply-to" field.  This will be the message subject.  You may write your own message text or use one of pre-defined templates. In the second case, select the needed template from this drop-down list. The text will be inserted in the box below instantly. 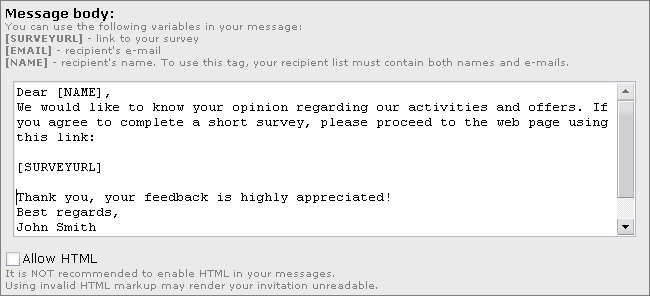 This is the text of the message the respondent will receive. If you use a template, the pre-defined text is inserted. However, you may write a text of your own. Mind that several variables are used. Such variables stand for a name, e-mail address of the recipient, and the survey URL. Actual name and address substitute for variables in the real message the recipient will receive. Example: this is how the real message body will look like: Sample. Response TrackingCheck whether to gather respondents information or not. Such information are collected for information purposes only. Upload List of Recipients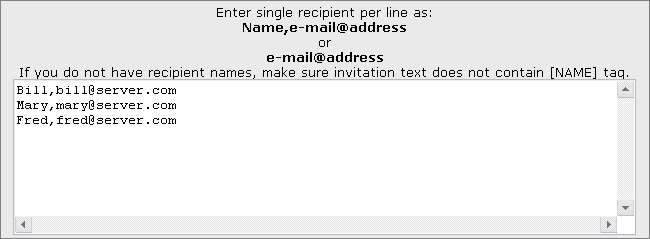 Enter the recipient list into this box. Please mind the syntax which may be strictly as shown. Note that if you use the [NAME] tag in the message body, you should put names in the list also. Otherwise, e-mail address alone may be used. Send Test E-mail Usually it is a good idea to test the newly created maillist by sending it to yourself. You may do it by entering up to 5 addresses in this box and clicking Test Invitation . When you are finished, review all fields once again, and if everything is OK, click Start Mailing to start the mailing process. However, you may save the created maillist without sending it by clicking Save and Send Later . Click Cancel to cancel all changes and return to the My Surveys page. |