|
Previous Item || Table of Contents|| Next Item
My Surveys: Where It All Begins
My Surveys is your main page that appears right away after you log into your account. This is your HQ at CreateSurvey where you do all kinds of things: create, manage, and test your surveys, monitor results and statistics, control your subscription status, and access all other functions that are available to you. The page consists of several sections:
Account:
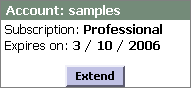
Your subscription level and expiration period are shown here. Click Extend to extend your subscription, upgrade to Pro, or view more details on subscription and service level.
Survey List:

This box contains a drop-down list giving access to all surveys created under your account. As you select a survey from the list, the page instantly refreshes (you may also force the page refresh by clicking Go! .
Survey status:

Next follows a box showing brief information on the survey status (active or inactive), total number of responses, and the week activity diagram showing responses for the last 7 days and the current day.
Survey Design:

The survey design box is where you control your survey contents, manage elements and options, etc. It contains the following options:
- Edit Questionnaire: Edit contents, elements, and layout of your survey.
- View/Test: View or test the survey in the real working mode. A new browser window will open containing the survey. This option allows the author/editor to test the survey from a common visitor's viewpoint. Please note that if you submit a response, it is stored in the database. (However, you may delete it if you wish.)
- Advanced Options: Access the survey's options and preferences.
Send Survey:
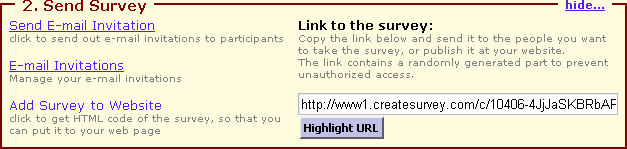
This box contains publishing options and methods, as follows:
- Send E-mail Invitation: Send an e-mail invitation to your respondents. Usually this is the most common way to invite people to take part in the survey.
- E-mail Invitation: View, edit, and delete existing maillists.
- Add Survey to Website: Get the HTML code to embed the survey into a web page of your own.
- Link to the Survey: This is the very web address (URL) that leads to the unique page containing the survey. You may put it on your web site, send in e-mail messages, or give out in any other way. Once a respondent receives it, he or she may visit and take the survey.
View Results:
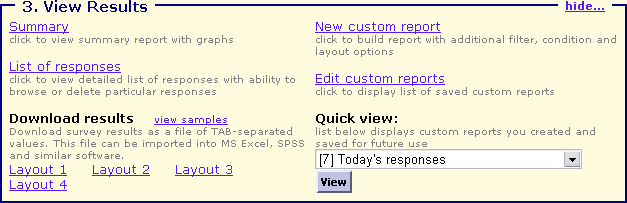
Means for monitoring survey results are gathered here in this box:
- Summary: Overall summary results of the survey are shown here.
- List of Responses: There are per-participant results with information on each individual response.
- New Custom Report: Click to create a new custom report. For more details on custom reports see Custom Reports.
- Edit Custom Reports: Click to edit existing custom reports.
- Download Results: Click on one of the Layout links to download results for offline viewing.
- Quick view: Choose a custom report from the drop-down list (if available) and click on the View button to view the survey's results through this custom report.
Advanced:

The following options are grouped in this box:
- Copy Survey: After clicking on this link a copy of the survey will be created. Note that results are not copied, only the survey itself.
- Delete Results: Delete all the survey results (responses).
- Delete Survey: This allows to delete both the survey and its responses. Use with caution!
See also:
Custom Services
Previous Item || Table of Contents|| Next Item
|