| Back to the main page |
|
Previous Item || Table of Contents|| Next Item New Custom Report To create a new custom report, at the My Surveys page click the New custom report link. A report editing mode will open: Enter report name: The name of your new custom report. Filter by date: Click Change... to set a date filter for the custom report:  Predefined templates allow to quickly set most commonly used periods:
If you want to set a period of your own, check the option 'Custom' and set the "from" and "to" dates. After you are finished, click Save and Return to save the filtering options. Otherwise click Cancel Changes . Filter by responses: Click Change... to set a responses rule for the custom report. Only the answers that conform to the rules will be displayed, otherwise they will be excluded from the output.  The possible conditions are:
On the example above, only responses with answers "XP" and "NT" will be included in the custom report. You may add new rules by clicking Add Rule . Click Delete to delete the rule. After you are finished, click Save and Return to save the filtering options. Otherwise click Cancel Changes . Crosstabulation: Click Change... to set a crosstabulation rule:  Check the answers you wish to include in the contingency table. After you are finished, click the Save and Return to save the crosstab options. Otherwise click Cancel . See also: Include questions: Choose what questions to display in the custom report: 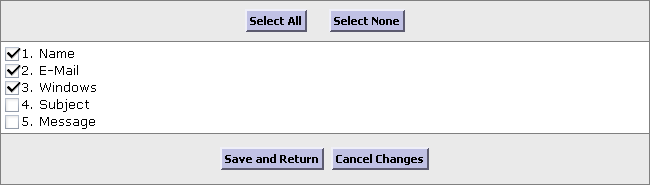 On the example above, only the respondent's name, e-mail, and Windows version will be included in the report. Fields "Subject" and "Message" will not be displayed in any case. Buttons Select All and Select None help to check and uncheck. After you are finished, click Save and Return to save the filtering options. Otherwise click Cancel Changes . Additional options: Check additional layout options you want to activate in your custom report. Data layout: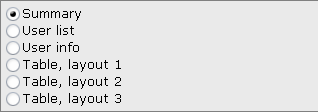 The following layouts are possible:
Output as: Check 'HTML' to view the results online, and 'TAB-separated' to download a file on your hard drive. When you are finished with editing the custom report, click Save and Show Report to view the resulted report instantly. The button Save and Return to My Reports saves the report, but exits to the My Reports page without viewing it. See also: |